
The short answer
Foundation flashback is a white, pale, or gray cast that shows up under direct camera flash — while your face looks completely normal in the mirror. It happens when a strong burst of flash light reflects off your complexion products and returns straight to the camera lens. The fix is diagnosis first: figure out whether you’re dealing with true flashback or one of several look-alikes, identify which layer of your routine is contributing, and test your makeup with a flash before the event — never after.
What true flashback actually looks like
There is a specific signature to genuine flashback, and learning it will save you from fixing the wrong thing.
True flashback:
- Your makeup looks like the right shade and undertone in the mirror, in the car, and under normal indoor light.
- In flash photographs — especially close-up flash selfies and direct-flash event photos — your face appears white, pale, gray, or slightly ghostly compared to the rest of the image.
- The effect is tied to the flash itself: it appears in shots taken with direct flash and not in the same scene’s flash-free shots.
- People around you (in person) cannot see what you see in the photo. Nobody at the table thought your face looked white.
If your foundation looks too light or gray in the mirror too, that is a different problem — a shade or undertone problem, not flashback. Most “flashback” complaints that never get resolved fail at this step: the diagnosis was wrong.

Why it appears in photos but not in the mirror
The difference is the light, not your eyes playing tricks.
A camera flash fires a single, intense, directional burst of light roughly on the camera’s axis — essentially straight back at you. Light-scattering or reflective materials sitting on your skin can return that burst directly into the lens. Under direct flash, small bright returns add up into a visible white or gray veil over your face.
Ambient room light behaves differently. It is diffuse — arriving from many directions at once — and much dimmer than a flash burst. In diffuse light, that same thin film of product returns far less light per point, so your eye reads the finish as normal.
Two things worth keeping in mind:
- Proximity to the flash matters. Phone flash sits close to the lens, which is a worst case for reflected light returning to the sensor. Professional setups where the flash is bounced off a ceiling or held off-camera are far less likely to produce the effect — which is also why your photographer’s shots may look fine while your friend’s phone photos do not.
- Skin tone is irrelevant to the mechanism. Flash is white light; the returned veil reads whiter on everyone. What changes with complexion depth is how noticeable the contrast looks in the final image, not whether the reflection occurs. (More on deeper skin tones below.)
Nothing in this picture requires exotic optical theory: it is a burst of bright directional light hitting a filmed, lightly reflective surface and coming back to a lens on nearly the same axis. That is the responsible technical explanation, and it is all you need.
Is it true flashback? A quick diagnostic
Before changing a single product, run your photo through this check. True flashback has a fingerprint; the look-alikes below are among the most common misdiagnoses in makeup troubleshooting.
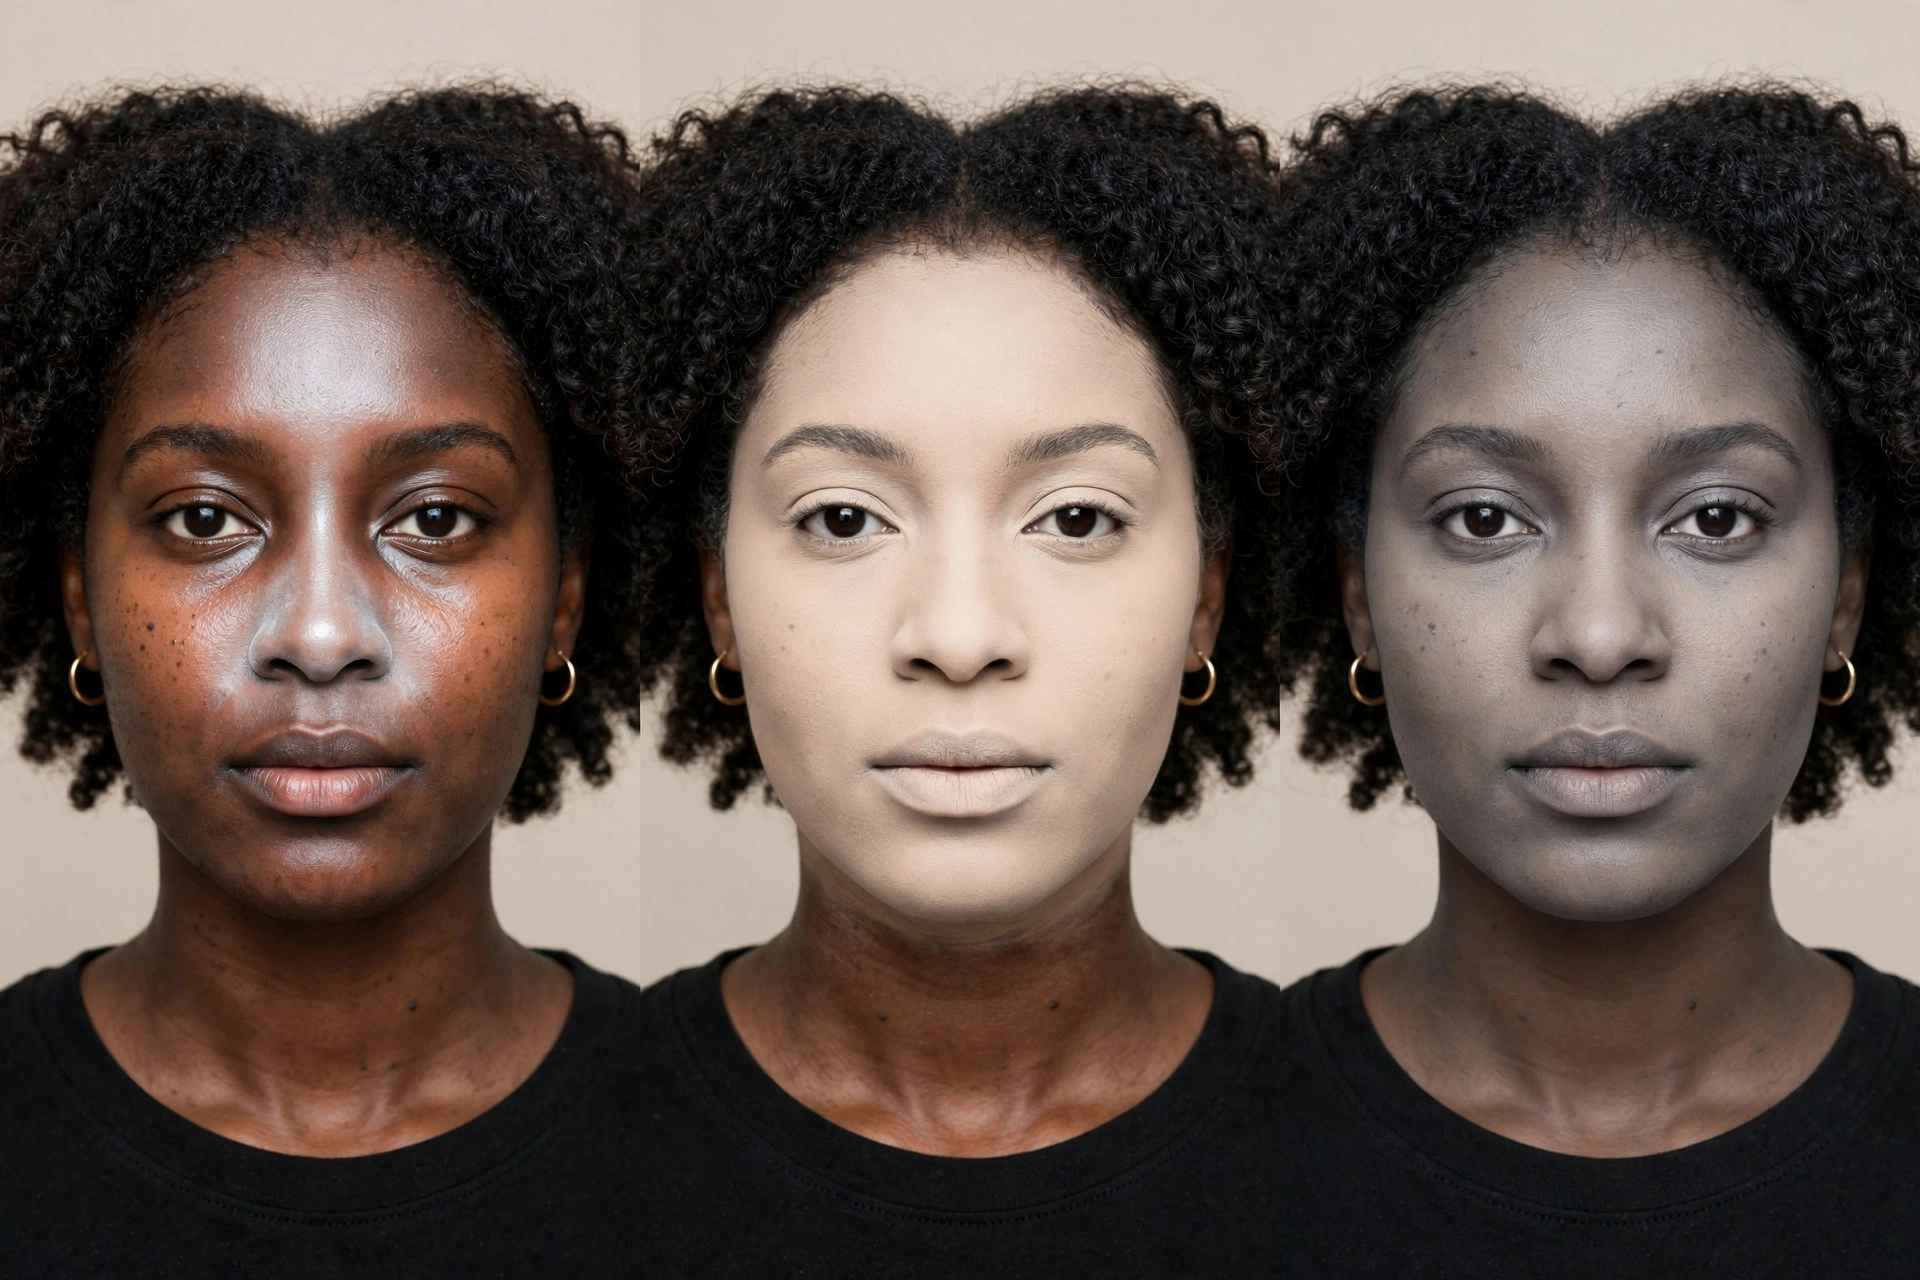
| What you see | True flashback | Look-alike | How to tell them apart |
|---|---|---|---|
| Face looks white/pale in flash photos | ✓ | — | Only under direct flash; normal in mirror, car, and daylight photos |
| Face looks too light everywhere, photos included | — | Foundation shade too light | Visible in the mirror in ordinary indoor light; flash is not the trigger |
| Face looks gray, ashy, or dull — photos and mirror | — | Wrong undertone | Gray/ashy cast visible in daylight and indoor light; the color itself is off, not a white veil |
| Overall whitish cast visible in daylight selfies too | — | Ordinary sunscreen white cast | Visible without any flash, especially in daylight; often extends to neck and ears where product sits thickest |
| Face looks darker/orange later in the day than when applied | — | Oxidation | A time-based change — morning photos fine, evening photos darker. Flashback is a light-based change, not a time-based one |
| Under-eyes glow white in flash while the rest of the face is fine | Either | Over-bright under-eye concealer or excess brightening powder | If it is localized to where you placed a too-light concealer or baked powder, suspect application placement and amount first |
| Just one shiny bright area, not the whole face | — | Highlighter or shiny spots | A defined highlight stripe or oily T-zone spot; true flashback is a broader veil over product-covered areas |
| One photo looks washed out, the rest look fine | — | Exposure and lighting | If the same makeup looks normal in the next shot with no flash, the camera’s exposure did it, not your products |
One important distinction: cakey foundation and flashback are entirely different problems. Cakey foundation is a texture and application problem — patchy, heavy, or flaky-looking makeup you can see in the mirror. Flashback is a light-response problem — makeup that looks fine in person but reflects wrong under flash. If your foundation looks textured or heavy in the mirror, read our guide on why foundation looks cakey instead; if it looks fine in person and only fails under flash, stay here.
Where it can come from: layer by layer
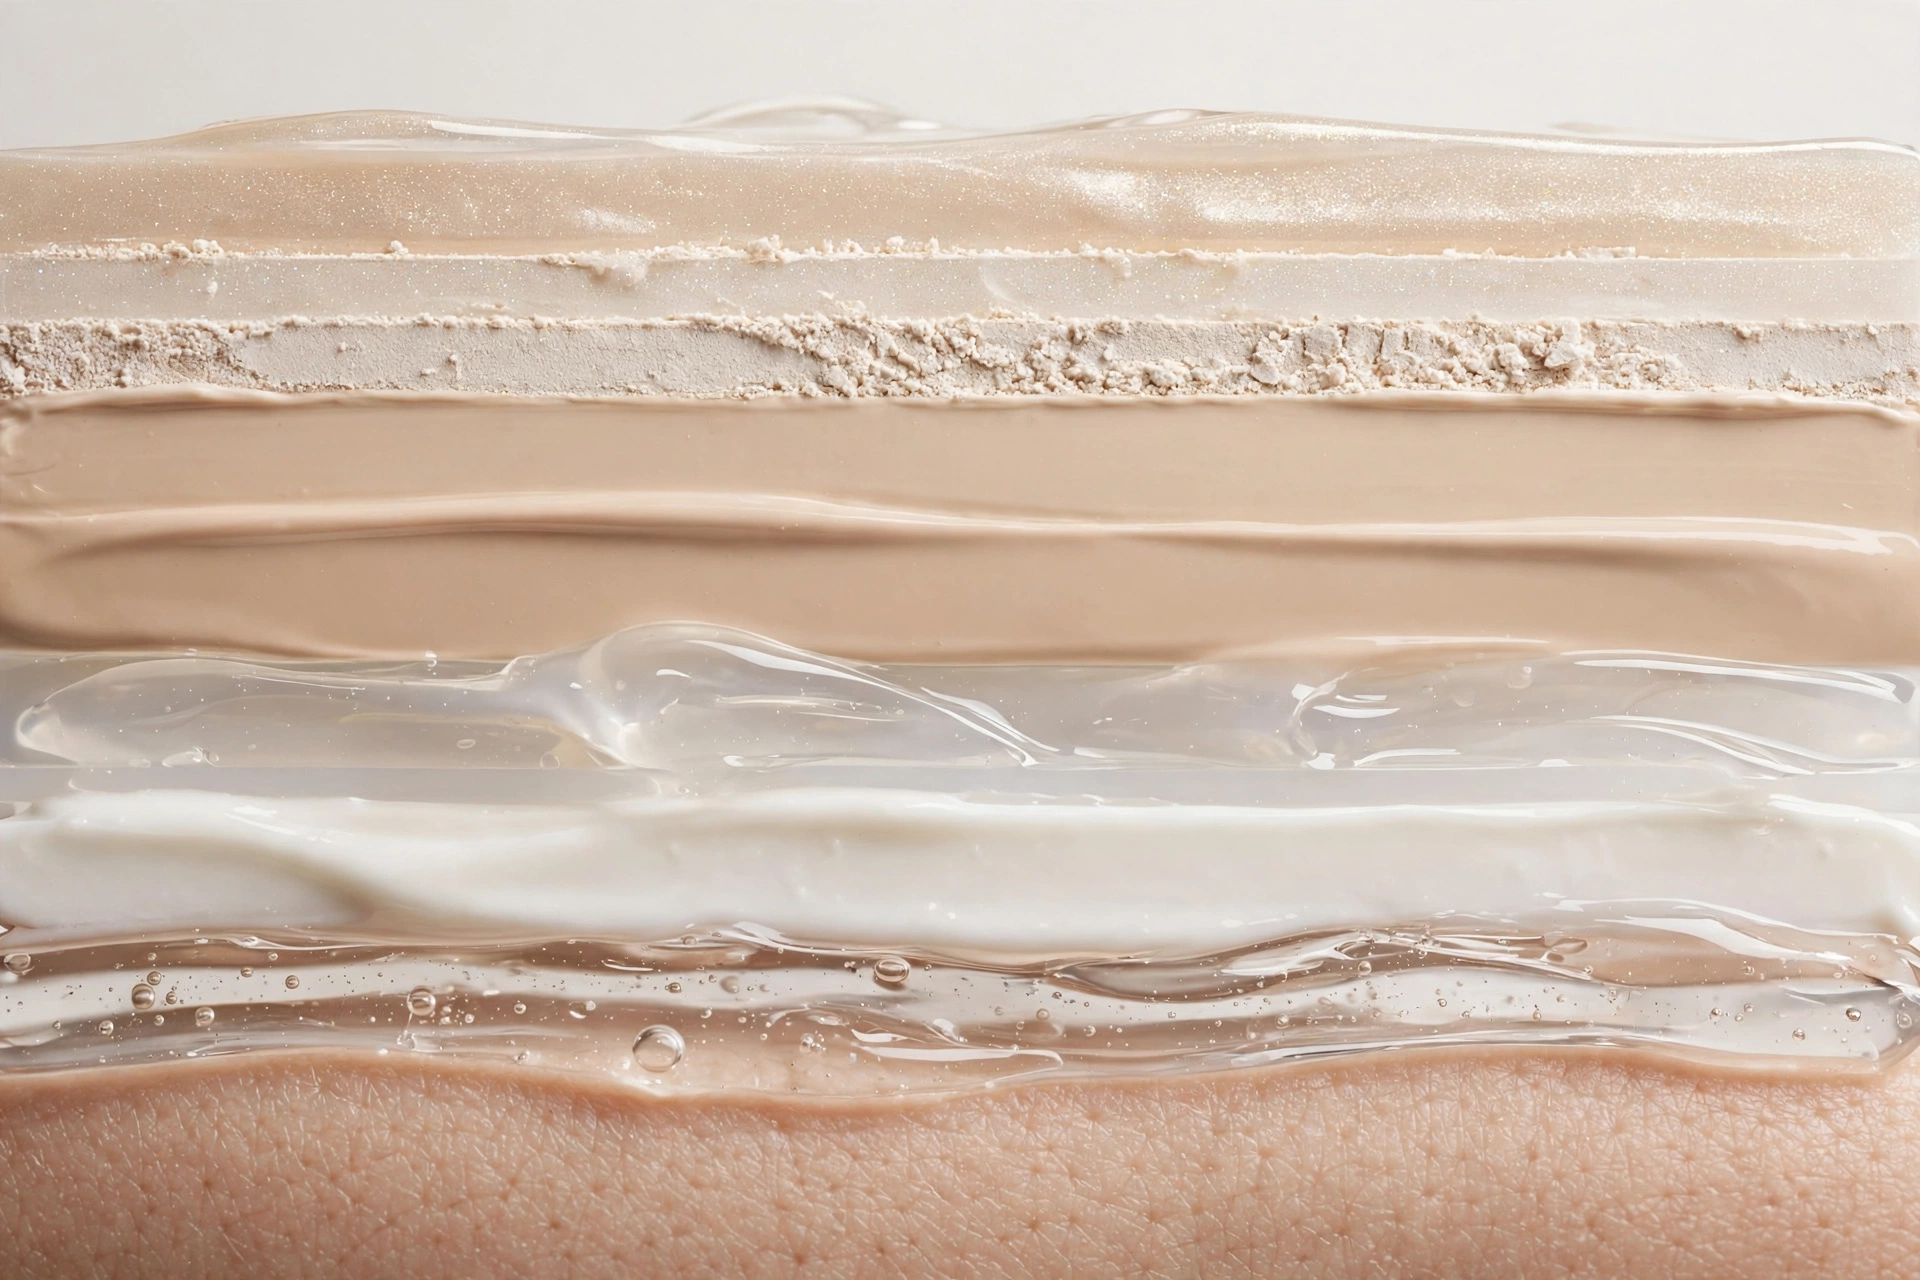
Your complexion is a stack. Flash does not interrogate one product at a time — it reads the whole stack. A thin reflective film in any layer can contribute, and layers combine: a little in the foundation, a little in the powder, and a brightener in the concealer can add up to a visible cast.
Walk the stack from the skin outward:
1. Skincare. Heavy moisturizers, facial oils, and some SPF moisturizers can leave a glossy film. On their own, skincare rarely produces true flashback — but a shiny base can amplify whatever sits above it. If your skin looks visibly glossy before foundation goes on, the base is part of the equation.
2. Sunscreen. Sunscreen sits on the skin as a deliberate film, and mineral (physical) UV filters — zinc oxide and titanium dioxide — are white pigments that protect partly by scattering and deflecting UV. The American Academy of Dermatology describes chemical UV filters as working “like a sponge, absorbing the sun’s rays,” while physical/mineral filters “act like a shield” that sits on the surface and deflects rays. That deflecting quality is exactly why mineral sunscreen may contribute to flash reflection under some conditions. But formulation, concentration, particle characteristics, how much you applied, and what goes over it all matter enormously — a thin, well-blended layer under foundation does not automatically mean flashback. Read the sunscreen safety section below before you change anything here.
3. Primer. Brightening, illuminating, or “glow” primers add light-scattering ingredients on purpose. That is their job in person; under flash it can read as brightness that is no longer flattering. A plain, non-illuminating primer is the neutral control for flash-prone routines.
4. Foundation. Foundations containing higher levels of white pigments — mineral UV filters included as active sunscreen ingredients (check the Drug Facts panel) or titanium dioxide used as a pigment/brightener (often listed as CI 77891) — can contribute under some conditions. Again: formulation, concentration, application amount, and layering decide the outcome, not the presence of the ingredient alone. A sheer layer of one formula may photograph perfectly while a heavy layer of another does not.
5. Concealer. A concealer one or two shades too bright, placed under the eyes or on the high planes of the face, can read as localized flashback — a white triangle or glowing spot in flash photos. This is usually an amount-and-placement problem rather than a formula problem.
6. Powder. Setting and baking with translucent powder is the single most frequent practical contributor readers discover when they test layer by layer. Powders are designed to sit on the surface; excess product, especially silica- or mineral-heavy translucent powders piled under the eyes, is a classic flash-photo offender. Application amount matters at least as much as the formula.
7. Highlighter and finishing products. Shimmer, glitter, and luminous finishing sprays or powders are designed to return light. One person’s “lit from within” is another person’s blown-out cheekbone in a flash photo. Check shimmery areas in your flash test specifically.
How to identify the contributing layer
You do not need to replace your whole routine. You need one controlled comparison.
The principle: control → change one variable → retest → compare. Test the full routine you would actually wear, then remove or reduce one layer at a time.
- Set your control. Photograph your complete routine with direct flash, in a dim room, at roughly arm’s length (see the protocol below). Keep the photo.
- Remove one suspect. The fastest first test: skip the powder entirely and retest. If the cast disappears or drops dramatically, powder amount or formula is your main contributor.
- Work down the stack. If powder was not the driver, retest with powder back but a lighter hand, then try: no highlighter; no baking under the eyes; foundation alone over sunscreen with no primer. Change one thing per test.
- Check shade without flash. Take a non-flash photo in daylight or bright indoor light. If the whiteness shows up there too, you are looking at a shade or undertone mismatch (or ordinary sunscreen white cast) — not flashback — and the fix is shade selection, not layer elimination.
Keep notes on each test: what you changed, and whether the cast got better, worse, or stayed the same. If nothing in the stack changes the result, suspect the camera or lighting itself (see the diagnostic table above).
The at-home flash test
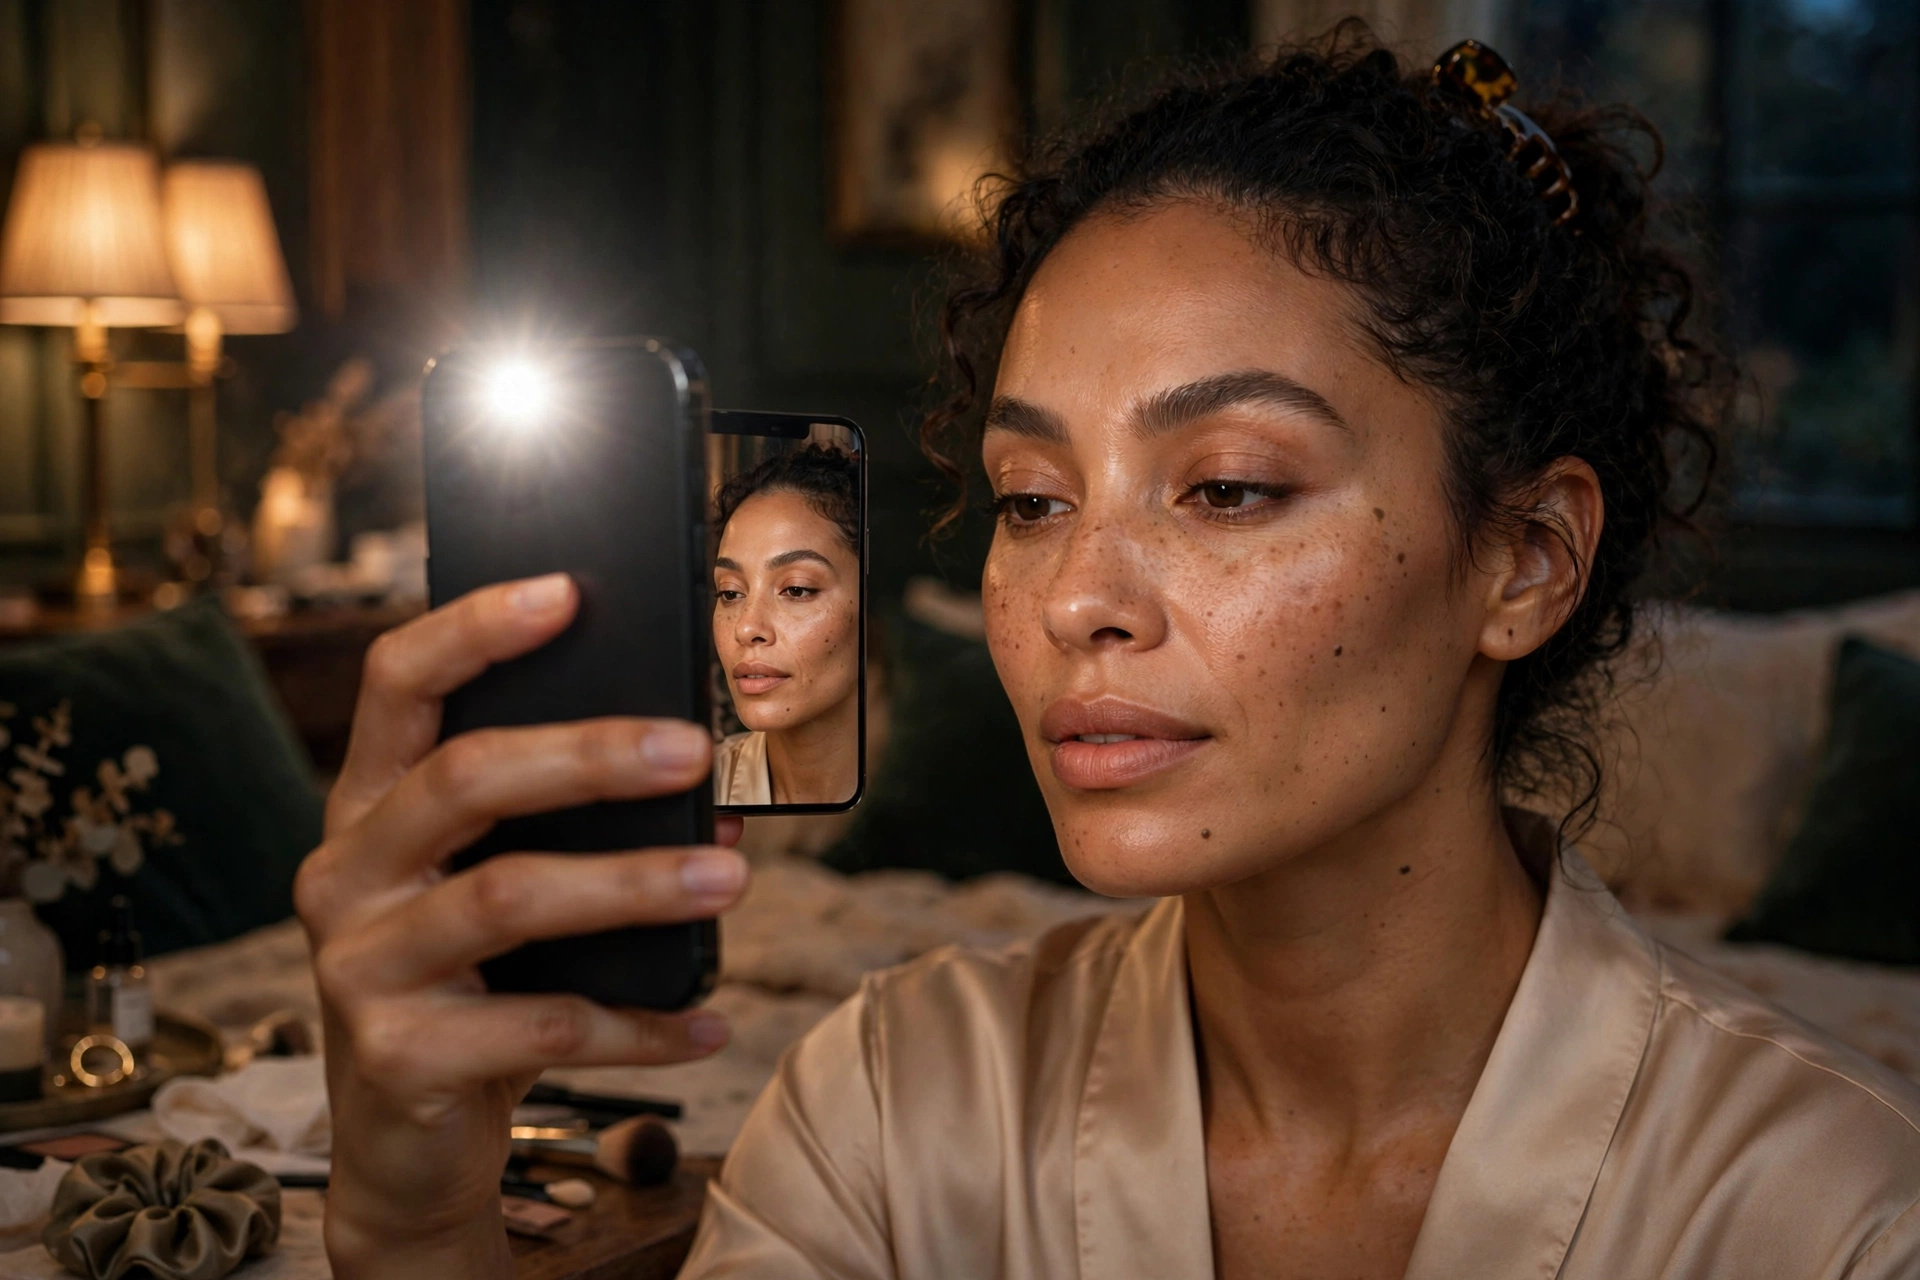
This is not a laboratory test and it is not anyone else’s testing — it is a practical self-check, designed for weddings, parties, evening events, and professional shoots. The core principle: never discover flashback in the delivered photos. Discover it the night before.
- Wear the full routine. Apply everything you plan to wear — sunscreen included — in the amounts you would actually use. A test of a different routine tells you nothing.
- Let it set. Wait at least 15–20 minutes after finishing, the way makeup settles before an event. Test under similar conditions to the event where possible: evening events mean dim room light.
- Use the harshest flash available. A phone’s front or rear flash, close to arm’s length in a dim room, is the most punishing common scenario. If you pass that, bounced professional flash is unlikely to surprise you.
- Shoot straight-on. Face the camera directly; the flash-on-axis geometry is what triggers the reflection. Take two or three shots — one is enough to be fooled by exposure quirks.
- Compare honestly. Look at the photos on a normal screen, not zoomed-in past recognition. Ask: is there a white or gray veil over product-covered areas that is absent in the mirror? Compare against bare-skin reference shots if you want a strict baseline.
- Change one variable and retest. This is where the diagnosis from the previous section turns into a decision. Each round of the test answers one question: was it the powder? Was it the sunscreen layer? Was it the concealer placement?
If you have a professional photographer, send them one of your test shots and ask how they plan to light the shoot. Off-camera or bounced flash behaves nothing like direct flash, and knowing the plan lets you calibrate how much precaution the situation actually warrants.
What to change, based on the diagnosis
Work through this as a swap matrix — what you do depends on what your tests actually showed.
| Diagnosis from your test | What to evaluate |
|---|---|
| Powder is the main contributor | Reduce the amount first — this alone resolves most powder-related flashback. Dust lightly instead of baking; blend thoroughly under the eyes. If amount alone does not fix it, evaluate the formula: a finely milled, tinted, or satin-finish powder in place of a heavy translucent one. |
| Sunscreen layer contributes, and the event is indoors at night | For a nighttime indoor event with no meaningful UV exposure, the practical question is what the full stack needs. Test the routine with your daytime sunscreen swapped or reduced for that evening’s test — never skip sun protection where actual sun exposure exists. See the safety section below. |
| Concealer glows white under the eyes | Reduce the amount and blend further; check whether a less bright shade still covers. Brightening is for ambient light — under flash, it reads as white. |
| Foundation itself is the contributor | Evaluate a formula with a lower level of brightening pigments, or simply a sheerer application — concentration and amount are variables, not just the ingredient list. Sheer out with a damp sponge rather than layering. |
| Highlighter or finishing product blows out | Keep shimmer to the high planes you want lit, reduce the amount, and verify in the flash test. Matte finishing in flash-critical zones is the conservative choice. |
| Shade/undertone mismatch (not true flashback) | Test shades in daylight, not store lighting. Gray or ashy cast on deeper skin tones is frequently an undertone mismatch — a warmer or deeper shade, not a brighter formula. |
| Nothing in the stack changes the result | Suspect exposure and lighting. A single washed-out frame among normal ones is a camera decision, not a makeup problem. |
Preparing for an important event
The entire preparation strategy is one sentence: test the full routine under the relevant lighting before the event, and never discover the result in the delivered photos.
In practice that means:
- Do a complete trial run — full routine, real products, real amounts — at least a day or two before a wedding, shoot, or evening event. This gives you time to adjust one variable at a time without panic.
- Match the test conditions to the event: dim room and phone flash for an evening party; whatever the photographer tells you they will use for a professional shoot.
- Bring your powder and concealer to the event for touch-ups, but do not bake fresh thick layers mid-event — touch-ups add product to a settled stack.
- Tell your photographer about any sensitivities if you are the subject of the shoot. A two-sentence heads-up lets them adjust their lighting; most would rather know beforehand than retouch afterward.
Sunscreen safety: read this before you change anything
This section is non-negotiable.
Flash photography concerns must never override sun-protection needs. The FDA recommends broad-spectrum sunscreens with SPF 15 or higher, used as directed, as part of a sun-protection strategy that also includes limiting time in the sun, covering skin with clothing, and seeking shade. The AAD advises applying sunscreen as the last step of the morning routine and reapplying every two hours when outdoors or after swimming or sweating.
The correct mental split is:
- Daytime sun exposure → sun protection decides. If you will be in the sun — outdoor wedding, daytime event, any meaningful UV exposure — wear appropriate sunscreen, period. Photography is secondary. You can still reduce flashback risk by testing the full stack beforehand: evaluate the sunscreen formula, the amount, how the powder sits over it, and the shade/undertone match, and photograph the finished makeup under the expected conditions.
- Nighttime or indoor events with no UV exposure → sunscreen is a formulation choice, not a safety requirement. An evening indoor event is not a sun-exposure scenario. Choosing a lighter or different formula for that evening’s routine is a reasonable, safety-neutral decision — as long as you still wear proper sun protection for actual sun exposure earlier in the day.
- Do not frame any sunscreen type as universally superior or flashback-proof. Chemical UV filters are not inherently flashback-proof, and mineral filters are not inherently flashback-causing. Formulation, concentration, particle characteristics, application amount, and layering decide outcomes — any guide that sorts products into “safe” and “unsafe” lists by filter type alone is oversimplifying.
Skipping sun protection for routine daily activities because of photography concerns is not a tradeoff this publication will ever recommend.
Flashback on deeper skin tones
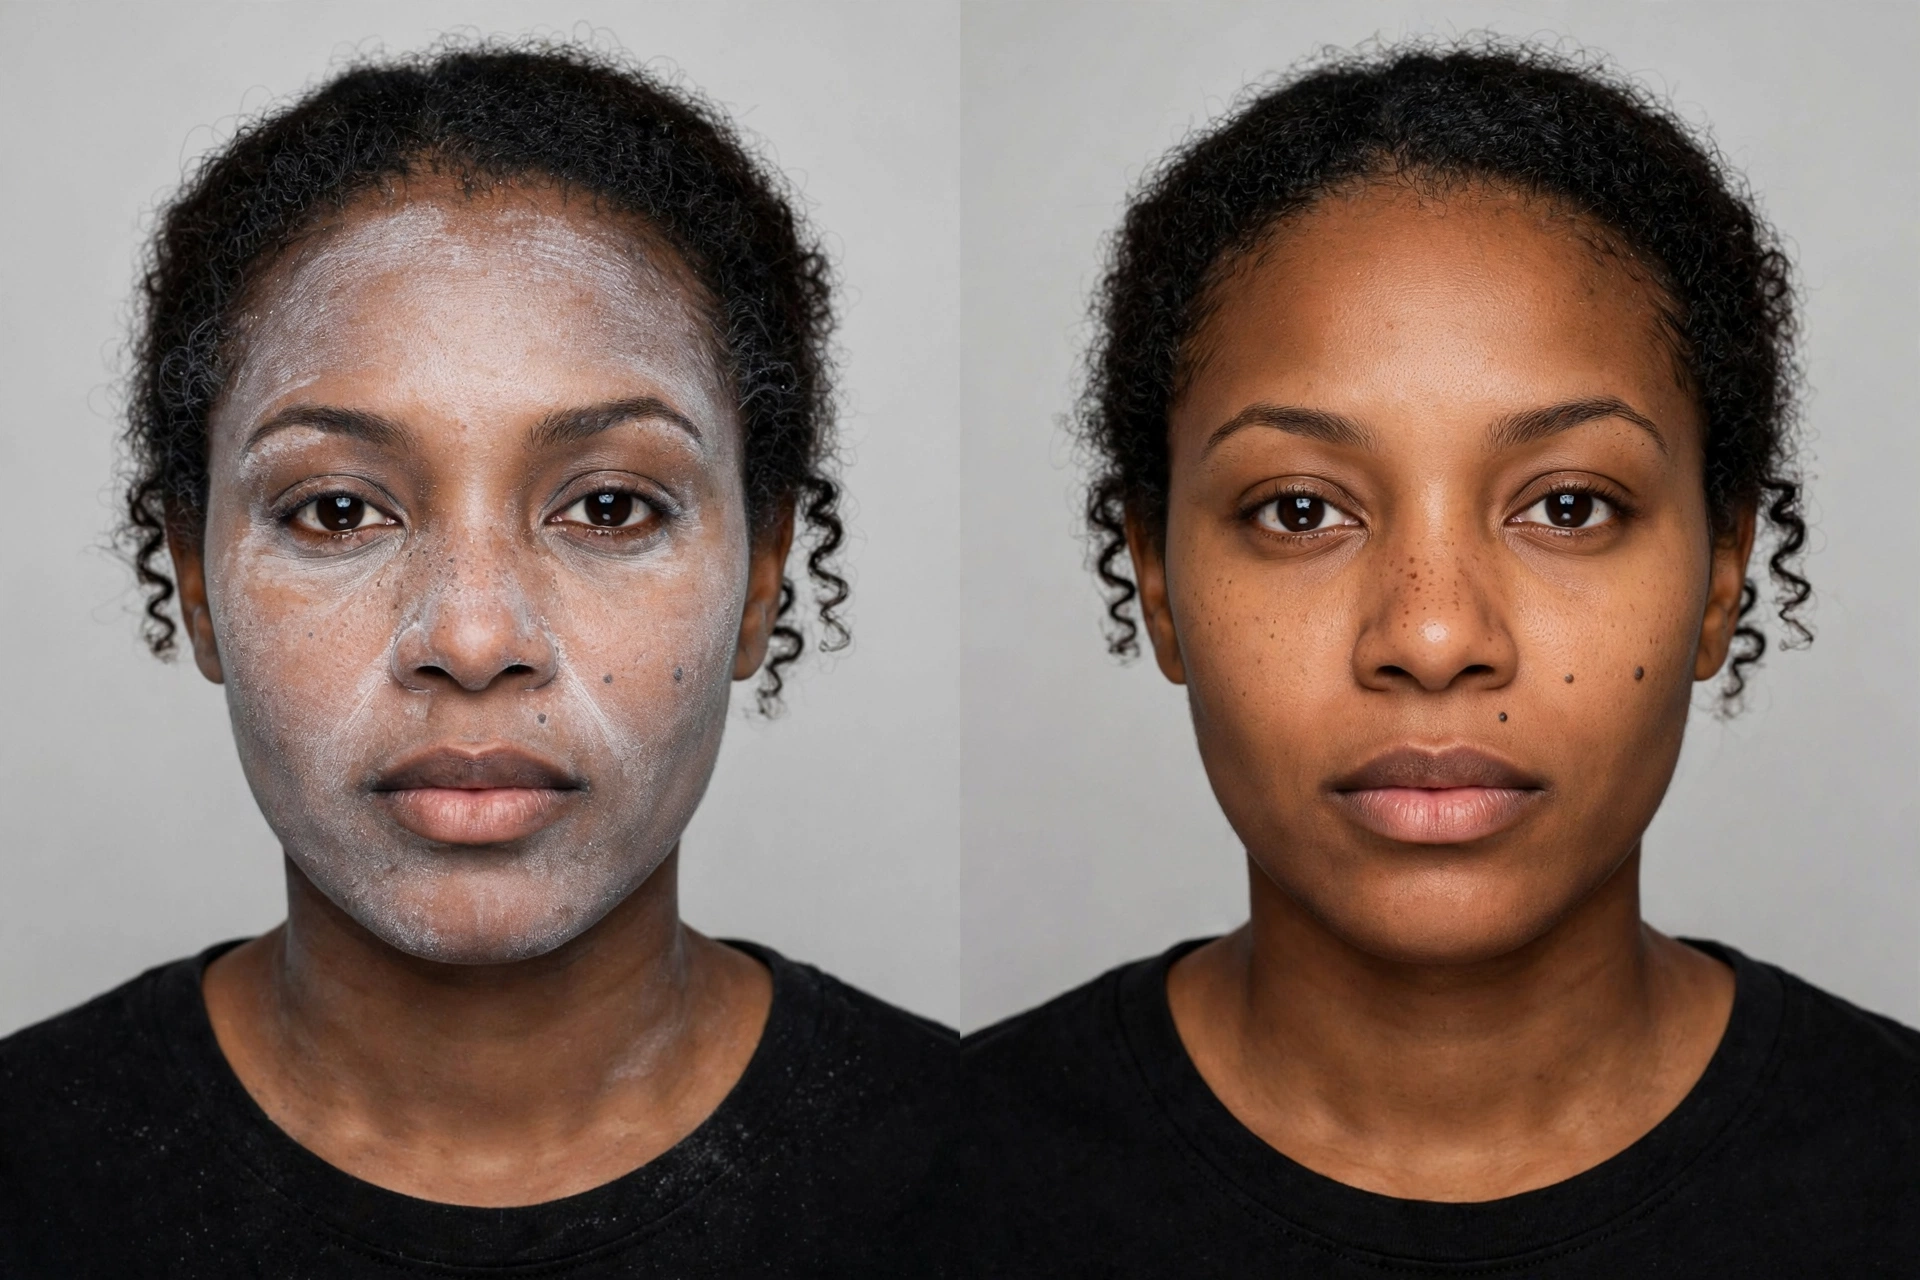
A note that deserves its own section: a white or gray cast can be more visually striking in photos of deeper complexions, simply because the contrast between the veil and the surrounding skin is greater. The mechanism is the same — bright light returned to the lens — but the result is more noticeable.
Two cautions against easy conclusions:
- Do not generalize causes across skin tones. Deeper complexions are not a separate flashback mechanism. The diagnostic process is identical: identify whether the problem is flash-triggered at all, then isolate the contributing layer.
- Distinguish flashback from ashiness and undertone mismatch. A gray, ashy, or dull appearance that is visible in the mirror and in daylight — not just under flash — is usually a shade or undertone mismatch, and it is one of the most common misdiagnoses on deeper skin. Test shades in daylight, match the undertone (warm, cool, neutral — not just depth), and treat this as a shade problem with its own solution rather than as flashback.
What “HD,” “photo-ready,” and “flash-friendly” actually tell you
“HD,” “photo-ready,” “camera-ready,” and “flash-friendly” are marketing descriptions, not standardized technical certifications. There is no universal test protocol behind these words, and a product that photographs beautifully under a beauty photographer’s softbox may behave differently under your phone’s direct flash — or layered over your sunscreen, in your amounts, in your lighting.
Treat the claims as what they are: a manufacturer’s suggestion that the product was designed with photography in mind. The only proof that matters for your face, your routine, and your event is your own flash test. And to be clear: a product that flashes back on you is not proof that a brand deceived anyone. Photography conditions, product combinations, and application technique vary too widely for any label claim to guarantee every outcome.
Frequently asked questions
What causes foundation flashback in photos?
Flashback is a white or gray cast that appears when direct flash light reflects off the products on your skin and returns straight to the camera lens. It is tied to the flash itself — the same makeup looks normal in the mirror and in ambient light. Which layer contributes depends on your specific stack: sunscreen, primer, foundation, concealer, powder, or highlighter can each play a role depending on formulation, amount, and layering.
Does sunscreen cause flashback in flash photography?
It can contribute under some conditions, but no sunscreen type universally causes flashback. Mineral UV filters (zinc oxide, titanium dioxide) are white pigments that partly protect by scattering and deflecting UV, so a sunscreen film may reflect flash light in some situations. Formulation, concentration, particle characteristics, application amount, and what is layered over it all matter. And sun-protection needs always come first: never skip sunscreen where actual UV exposure exists because of photography concerns.
How can I test whether my makeup will flash back?
Apply the full routine you plan to wear, let it set for 15–20 minutes, and take direct-flash photos (phone flash, arm’s length) in a dim room. Then change one variable at a time — skip the powder, reduce the concealer, adjust the amount — and retest. Compare each result to decide which layer contributes.
Why do I look normal in the mirror but ghostly in photos?
Because the light is different. A camera flash is a single intense burst roughly on the camera’s axis; reflective films on your skin return it straight to the lens. Room light is diffuse and dimmer, so the same product finish reads as normal to your eye. This is also why phone flash (flash close to the lens) is the harshest common scenario, while bounced professional flash is far more forgiving.
Do “HD” or “photo-ready” products prevent flashback?
Not reliably. These are marketing descriptions, not standardized certifications — there is no universal test behind the words. A product designed with photography in mind can still flash back under different lighting, over different layers, or in heavier application. The flash test on your own face with your own routine is the only meaningful proof.
Does flashback show up more on deeper skin tones?
The white or gray cast can be more visually noticeable on deeper complexions because the contrast with the surrounding skin is greater — but the mechanism is the same for everyone. Be careful not to confuse true flashback with ashiness or undertone mismatch: a gray cast visible in the mirror and in daylight is a shade problem, not a flash problem, and it needs a shade solution.
Sources
- American Academy of Dermatology, via statement of AAD President Henry W. Lim, MD, FAAD — sunscreen active ingredients “absorb, scatter or reflect UV light”; sunscreens are regulated as over-the-counter drugs by the FDA; recommendation of broad-spectrum SPF 30 or higher. https://practicaldermatology.com/news/statement-from-aad-president-henry-w-lim-md-faad-on-the-safety-of-sunscreen/2458179/
- American Academy of Dermatology (via Newswise) — chemical sunscreens “work like a sponge, absorbing the sun’s rays”; physical/mineral sunscreens “act like a shield,” sit on the surface of the skin deflecting rays, and contain zinc oxide and/or titanium dioxide. https://www.newswise.com/articles/confused-about-sunscreen-new-american-academy-of-dermatology-survey-shows-americans-need-a-refresher-on-sunscreen-application-and-spf/?ad2f=1&aid=751870
- U.S. Food and Drug Administration, “Sunscreen: How to Help Protect Your Skin from the Sun” — sunscreens regulated to meet safety and effectiveness standards; use broad-spectrum sunscreens with SPF 15 or higher regularly and as directed; reapply at least every two hours, and more often if sweating or swimming; limit time in the sun, especially 10 a.m.–2 p.m. https://www.fda.gov/drugs/understanding-over-counter-medicines/sunscreen-how-help-protect-your-skin-sun
- AAD sun-protection guidance — apply broad-spectrum, water-resistant sunscreen SPF 30 or higher as the last step of the morning routine; reapply every two hours when outdoors or after sweating or swimming. https://www.aad.org/news/survey-worry-skin-aging-still-skip-sunscreen
Practical makeup context (not the basis for scientific claims): widely repeated practitioner observations on powder application and flash photography, e.g. Glam Theory’s guide on identifying powder and SPF layers as common contributors. https://glamtheory.com.au/blogs/glam-school/how-to-avoid-the-makeup-devil-flashback?page=396
2 thoughts on “Foundation Flashback in Photos: Why Your Face Looks White on Camera (and How to Fix It)”
Comments are closed.