You put it on in the morning — one even coat, edges clean, color rich. Then you catch your reflection at noon: the color is sitting in patches. Some areas are saturated, some look thin or skipped entirely, and the middle may have thinned to a pale wash while the edges still hold.
Here’s the thing most advice skips: “patchy lipstick” isn’t one problem. Lipstick that goes on patchy from the first swipe is failing for completely different reasons than lipstick that looks perfect at 9 AM and patchy by 1 PM. Different timing, different mechanisms, different fixes. The balm that fixes a dry canvas can cause patchiness if it never absorbs; the matte that applies beautifully can break down into blotches as it dries down.
This guide works the way this publication always works: what you see → when it happened → what may be causing it → how to check → what to change. When the patchiness appeared is your fastest diagnostic clue — but a clue, not a verdict. The tests below do the proving.
One honest statement up front: patchiness often comes from several small factors acting together, not a single culprit. The tests in this guide are designed to narrow the likely cause — they suggest; they don’t deliver a definitive diagnosis. Keep that frame as you work through them.
The short answer
Patchy lipstick means pigment was deposited unevenly on your lips, or was retained unevenly as the day went on — saturated spots next to pale or skipped spots, right on the lips. (Color that migrates off the lips onto surrounding skin is a different problem — we’ll route you to it below.)
The fastest way to sort your case: when did the patchiness show up?
- Patchy from the first swipe → the problem is in the application moment: your lip surface, what was already on your lips, how the product went on, or the product itself.
- Smooth at first, patchy later → the problem is in wear: how the formula dried down, what your lips did during the day, or what you did when you touched it up.
Each branch has its own causes, its own checks, and its own fixes. Start with the one that matches your mirror.
Start Here: When Did the Patchiness Appear?
Answer one question — honestly, at the mirror — then jump to your branch.
Option A — Patchy the Moment You Apply It
You see the patchiness within the first minute: the color grabs in some spots and skips others, looks streaky or blotchy as it goes on, and no amount of careful re-stroking evens it out. The canvas, the base layer, the technique, or the product is failing right now. → Start with Patchy From the First Swipe.
Option B — Smooth at First, Patchy Later
Application looked fine — even color, clean edges. The patchiness crept in over hours: the middle thinned out, pigment gathered around dry spots, or cracks and blotches appeared as the formula dried down. The failure is in wear, friction, or reapplication. → Start with Smooth at First, Patchy by Afternoon.
A special case lives inside Option B: center-fade, where the middle of the lips loses color while the edges keep it. It gets its own section below — it belongs in this article, not a separate one.
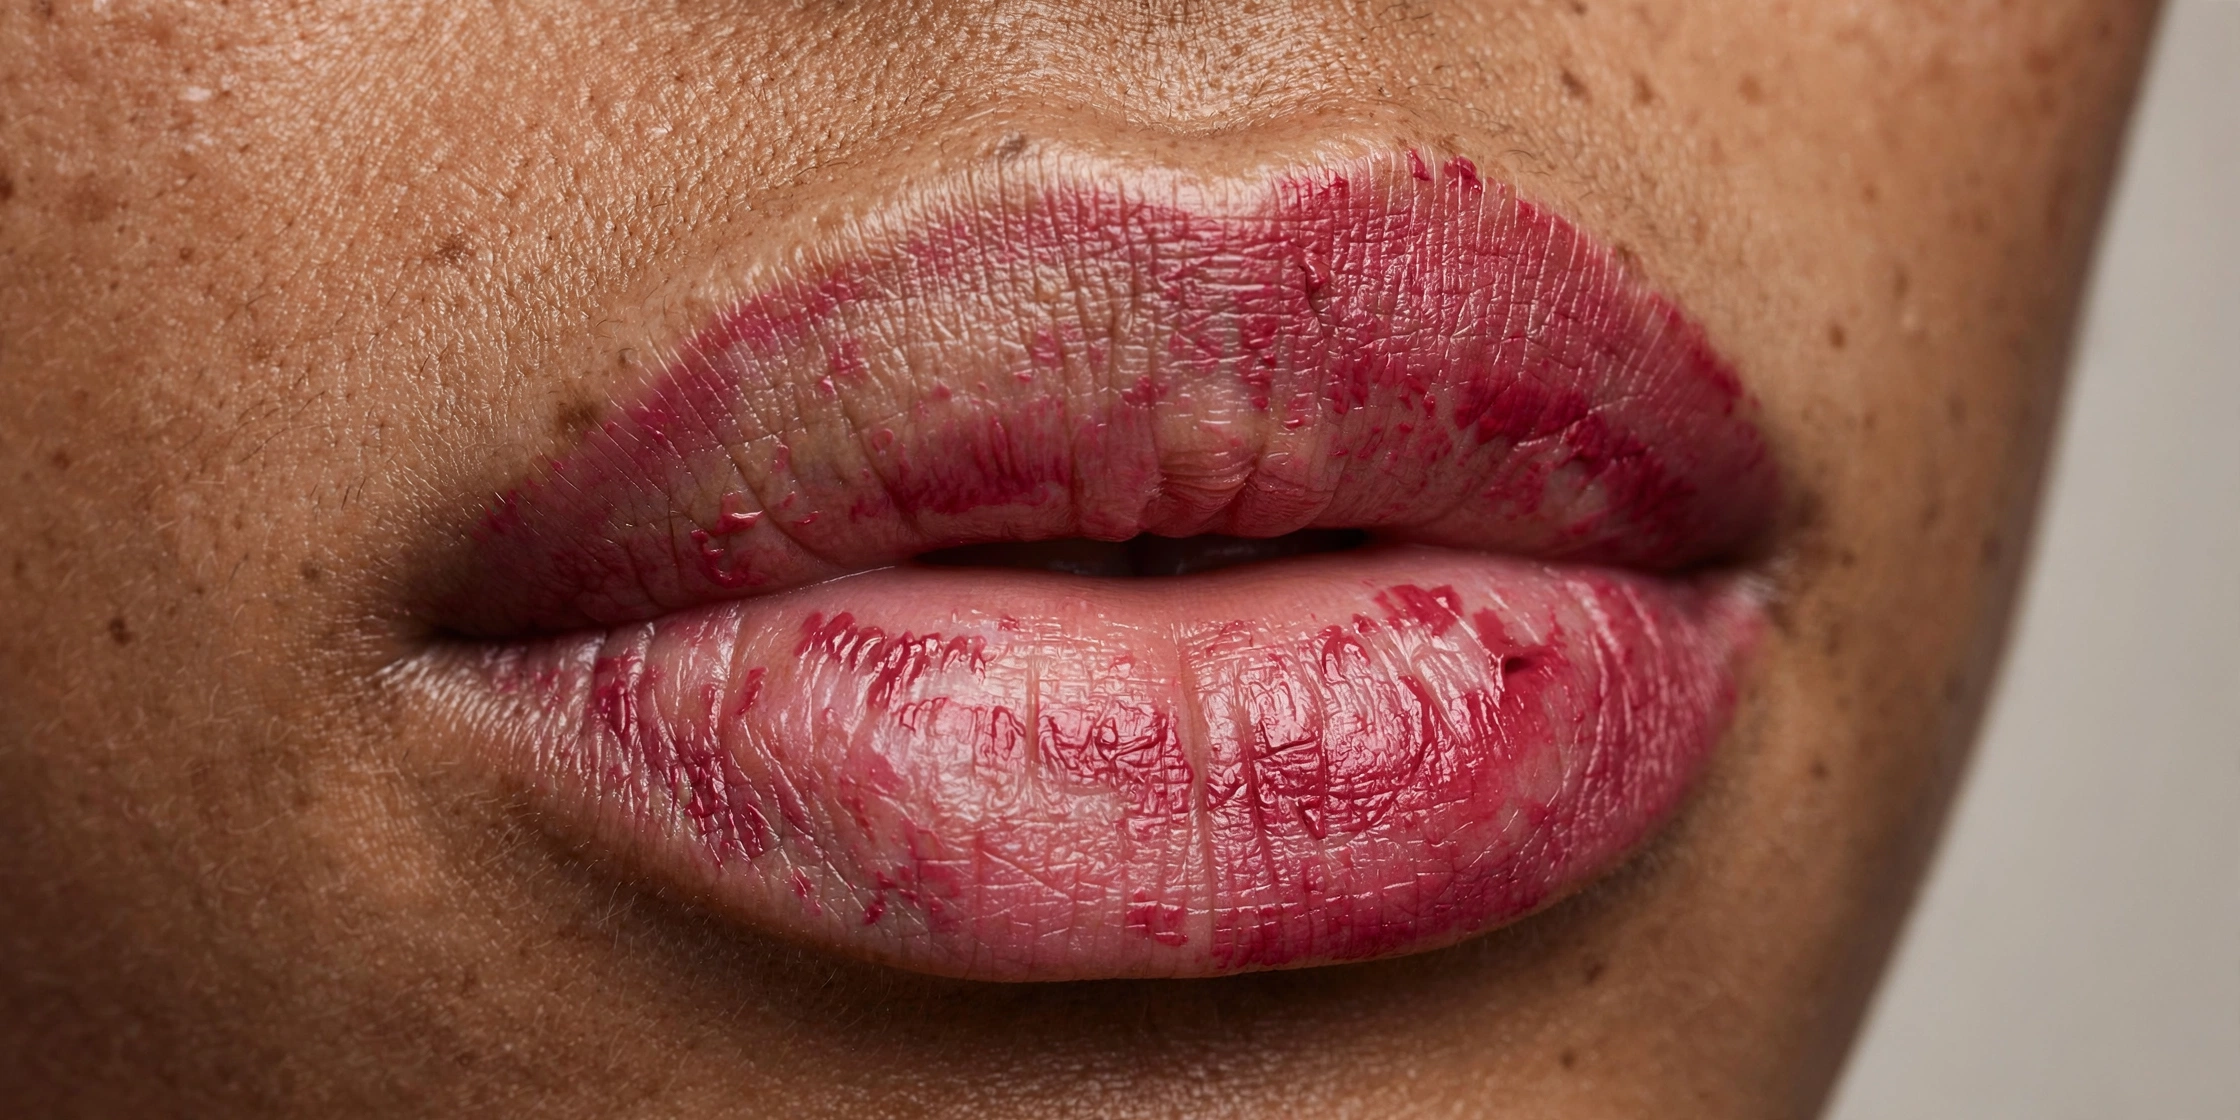
Patchy From the First Swipe: The Causes
When patchiness is visible during application, the pigment is failing to deposit evenly in real time. Work through these in order — they run from most common to most overlooked.
Dry or Flaky Lip Surface (the canvas problem)
What you see: color grabs onto some areas and skips others; pigment settles around dry flakes and skips the smooth spots between them, so the color looks interrupted from the very first stroke.
What may be causing it. Lipstick pigment needs a relatively even surface to grip. On dry or flaky lips, the pigment catches on raised flakes and misses the valleys — as makeup artist Trop puts it, “dry or textured lips can make even the best lipstick look patchy.” The tricky part: pigment can briefly fill fine lines and look smooth for the first minutes, then the dry areas show through as it settles — which is why a dry canvas can masquerade as a wear problem.
How to check. Test 1 below (bare lips vs over balm) is the direct check — but read its protocol carefully, because balm itself is the next cause on this list.
What to change. Hydrate the canvas and give it time: a thin layer of balm, several minutes to absorb, then blot the excess before lipstick goes on. Resist the urge to scrub aggressively — we’ll explain why in the wear-time section, because over-exfoliation is its own cause of patchiness.
Lip Balm Under Your Lipstick (timing is everything)
What you see: lipstick slides, skips, or separates over a greasy-feeling base — sometimes fine at first, sometimes immediately streaky.
What may be causing it. A thick layer of balm applied right before lipstick keeps the surface too slippery for pigment to grip — makeup artist Trop’s advice is to “blot off any excess balm so the lips aren’t slippery.” As the balm shifts or absorbs unevenly through the day, the pigment on top of it shifts unevenly too. Note the overlap: balm causes immediate patchiness through poor adhesion, and later patchiness as it dissolves unevenly underneath — the same ingredient, two different mechanisms depending on timing.
How to check. Test 1: one side (or one day) on clean bare lips, the other over balm — with a strict protocol: thin balm layer, a few minutes of absorption time, blot the excess.
What to change. If balm is the problem, change the timing, not the product: apply balm earlier in your routine, let it absorb, and blot before lipstick. Balm isn’t the enemy — wet balm under lipstick is.
Pressing Your Lips Together Too Soon (liquid formulas)
What you see: streaks, smears, or disturbed patches right after you press your lips — especially with liquid or fast-drying formulas.
What may be causing it. Some formulas need a short setting window for their volatile ingredients to evaporate and the film to lock. Pressing your lips together before that happens drags wet pigment around — MasterClass’s guidance (via The List) puts it precisely: smacking your lips together to even out coverage “can often produce an adverse effect, like, streaking or patchiness.” Their split is useful: liquid matte means one swipe and let it dry; cream formulas can take pressing. This is formula-specific: a calm, light press is standard and harmless with cream or satin bullets. Don’t generalize this to every lipstick you own.
How to check. Test 6 below — one application with no lip-pressing, compared against your normal habit, only with the liquid or drying formula in question.
What to change. Give liquid formulas their setting moment before you press or blot. With traditional bullets, keep your normal technique — the problem isn’t you, it’s the mismatch.
Too Many Layers at Once
What you see: color builds thick in some spots and thin in others; the surface looks heavy, ridged, or clumpy rather than simply pale.
What may be causing it. Pigment layered thickly before the first layer sets doesn’t form one even film — it builds ridges and clumps, and each additional stroke redistributes what’s already there instead of evening it out. This is the same failure as reapplying over old product (below): fresh pigment deposits into ridges and onto clumps rather than onto the lip. Heavy-handed application and repeated touch-ups without resetting are two versions of one mechanism.
How to check. Test 3 (blot, then reapply) directly tests whether excess product is the problem.
What to change. Build in thin passes with a moment between them — or blot once and reapply a single controlled layer. More strokes are not more coverage.
An Old or Expired Lipstick
What you see: a familiar shade starts applying differently — draggy, grainy, separated, or blotchy in a way it never used to.
What may be causing it. Lipstick is a pigmented wax-and-oil film, and that film can degrade: oils can separate, the texture can turn grainy or stiff, and the formula may no longer deposit evenly. Treat this as a product-condition check, not a calendar check — there’s no trustworthy universal expiration timeline worth citing, so go by observable signs: unusual odor, changed texture, visible separation, or application behavior that has clearly changed from when the product was new.
How to check. Compare against how the same product behaved when it was newer, or against a fresher product in the same finish. If the texture or smell has changed, the product — not your technique — is the likeliest suspect.
What to change. Replace it. No technique fixes a broken formula.
Lip Liner That Fights Your Lipstick (texture mismatch)
What you see: patchiness that maps to where liner sits — color grabs differently over the lined areas than over bare lip.
What may be causing it. Liner is a double-edged tool. Used well, filling the lips with liner creates a grippy, pigmented base that anchors the color on top (as layering guides describe it). But texture mismatch breaks the partnership: a dry, chalky liner under a matte lipstick, or a creamy liner under a firm-setting formula, means the two layers behave differently as they wear — “when liner behaves like chalk and lipstick behaves like paint, the disagreement eventually becomes visible.” Liner doesn’t always help; it helps when its texture agrees with the lipstick’s.
How to check. One application over liner, one without — same lipstick, same day conditions. If the lined version is patchier, the pairing is the problem.
What to change. Match textures: similar dryness levels, similar finishes. If your liner is much drier or much creamier than your lipstick, either change the liner or skip it for that formula.
Smooth at First, Patchy by Afternoon: The Causes
Application looked fine — this is a wear failure. The pigment went down evenly and something dismantled it over hours.
Matte Formulas Dry Down and Crack
What you see: smooth at first, then the color develops cracks, flakes, or blotchy gaps as the hours pass — often worst where your lips move most.
What may be causing it. Matte formulas are the least forgiving finish: as their volatile ingredients evaporate and the film sets, the resulting layer is rigid — and lip movement cracks a rigid film. Every small inconsistency in application becomes visible precisely because matte shows everything and forgives nothing. Keep the wording honest here: patchiness that appears only with a matte formula may suggest that the formula’s dry-down is interacting with your lip surface or wear pattern — it doesn’t prove the matte formula alone is the cause. Dry lips plus a matte finish is an interaction, not a single culprit.
How to check. Test 4 (matte vs satin in the same shade, watched over several hours) — framed as suggestive, not conclusive.
What to change. If the pattern points at dry-down, compare finishes honestly: satin and cream formulas are widely described as more forgiving precisely because their films stay flexible. You don’t have to abandon matte — but matte on dry, unprepared lips is the highest-risk combination on this page.
Center-Lip Wear — Eating, Drinking, Talking, Lip-Licking
What you see: the middle of the lips thins or disappears while the edges and lip line hold their color.
What may be causing it. The center of the lips takes the most punishment: food oils break down lipstick films, and talking adds constant friction exactly where the lips meet. Saliva and lip-licking are the underrated drivers — makeup artist Marisa Ross notes that “women lick their lips throughout the day” (via Bustle) — wearing the inner portion of the lips first, which can leave a visible “lipstick ring” of remaining color around a pale center. Uneven removal like this is often mistaken for the formula cracking, because the remaining pigment gathers around lip lines and dry areas as the center wears away.
How to check. Test 5 (center wear vs outer wear) — the canvas is identical across the whole lip, so a center-only pattern points at concentrated wear.
What to change. Adjust the reapplication strategy rather than the product: refresh the center alone instead of layering over the whole lip, and always remove the worn layer before reapplying (next cause).
Reapplying Over Old Lipstick (the biggest mistake)
What you see: each touch-up looks worse than the last — color builds into ridges, clumps, and visible edges where new meets old.
What may be causing it. Fresh lipstick doesn’t erase what’s underneath — it deposits into the cracks and clings to the clumps of the old layer. Makeup artist Lauren Carelli calls this the single biggest mistake people make: reapplying over worn, uneven lipstick without wiping off the existing product first. The old layer is an uneven canvas, and every new layer inherits — and amplifies — its unevenness.
How to check. Test 2: wipe-then-reapply vs reapply-directly, at the same time of day.
What to change. Reset before you reapply: remove the worn layer (tissue, micellar water, a damp cloth — whatever your routine), then apply fresh. One clean layer beats three stacked ones.
Balm Over Matte During the Day
What you see: a matte lipstick that was holding fine develops blotches or broken patches after you add balm on top midday.
What may be causing it. A dried-down matte film is a set structure; smearing an emollient layer over it breaks that structure apart unevenly. The balm dissolves the pigment film in some spots more than others, and the result reads as patchiness — distinct from balm under lipstick (a grip problem) because here the balm is attacking an already-set film.
How to check. If the blotches appeared after the midday balm and weren’t there before, the sequence is the evidence.
What to change. Don’t layer balm over a set matte. If your lips need moisture midday, remove the lipstick, moisturize, blot, and reapply — or switch the day’s formula to something more forgiving.
Over-Exfoliating Before You Apply (the delayed backfire)
What you see: lips that felt smooth after scrubbing develop flaking, roughness, or irritation hours later — and the lipstick breaks up over the newly rough surface.
What may be causing it. This one is counter-intuitive: aggressive lip exfoliation strips the protective barrier, and the irritation and flaking show up later, not immediately. As Dr. Dennis Gross has said, “you need to repair that barrier, not scrub it off” — the fix is barrier repair, not barrier removal. Scrubbing harder is not the fix for a flaky canvas; it’s a common cause of one.
How to check. Compare a week of gentle routine (hydrate, no scrubbing) against your normal exfoliation habit — the delay means this needs days, not hours, to evaluate.
What to change. Stop aggressive exfoliation and let the lip barrier recover. Hydration and time do what scrubbing promised.
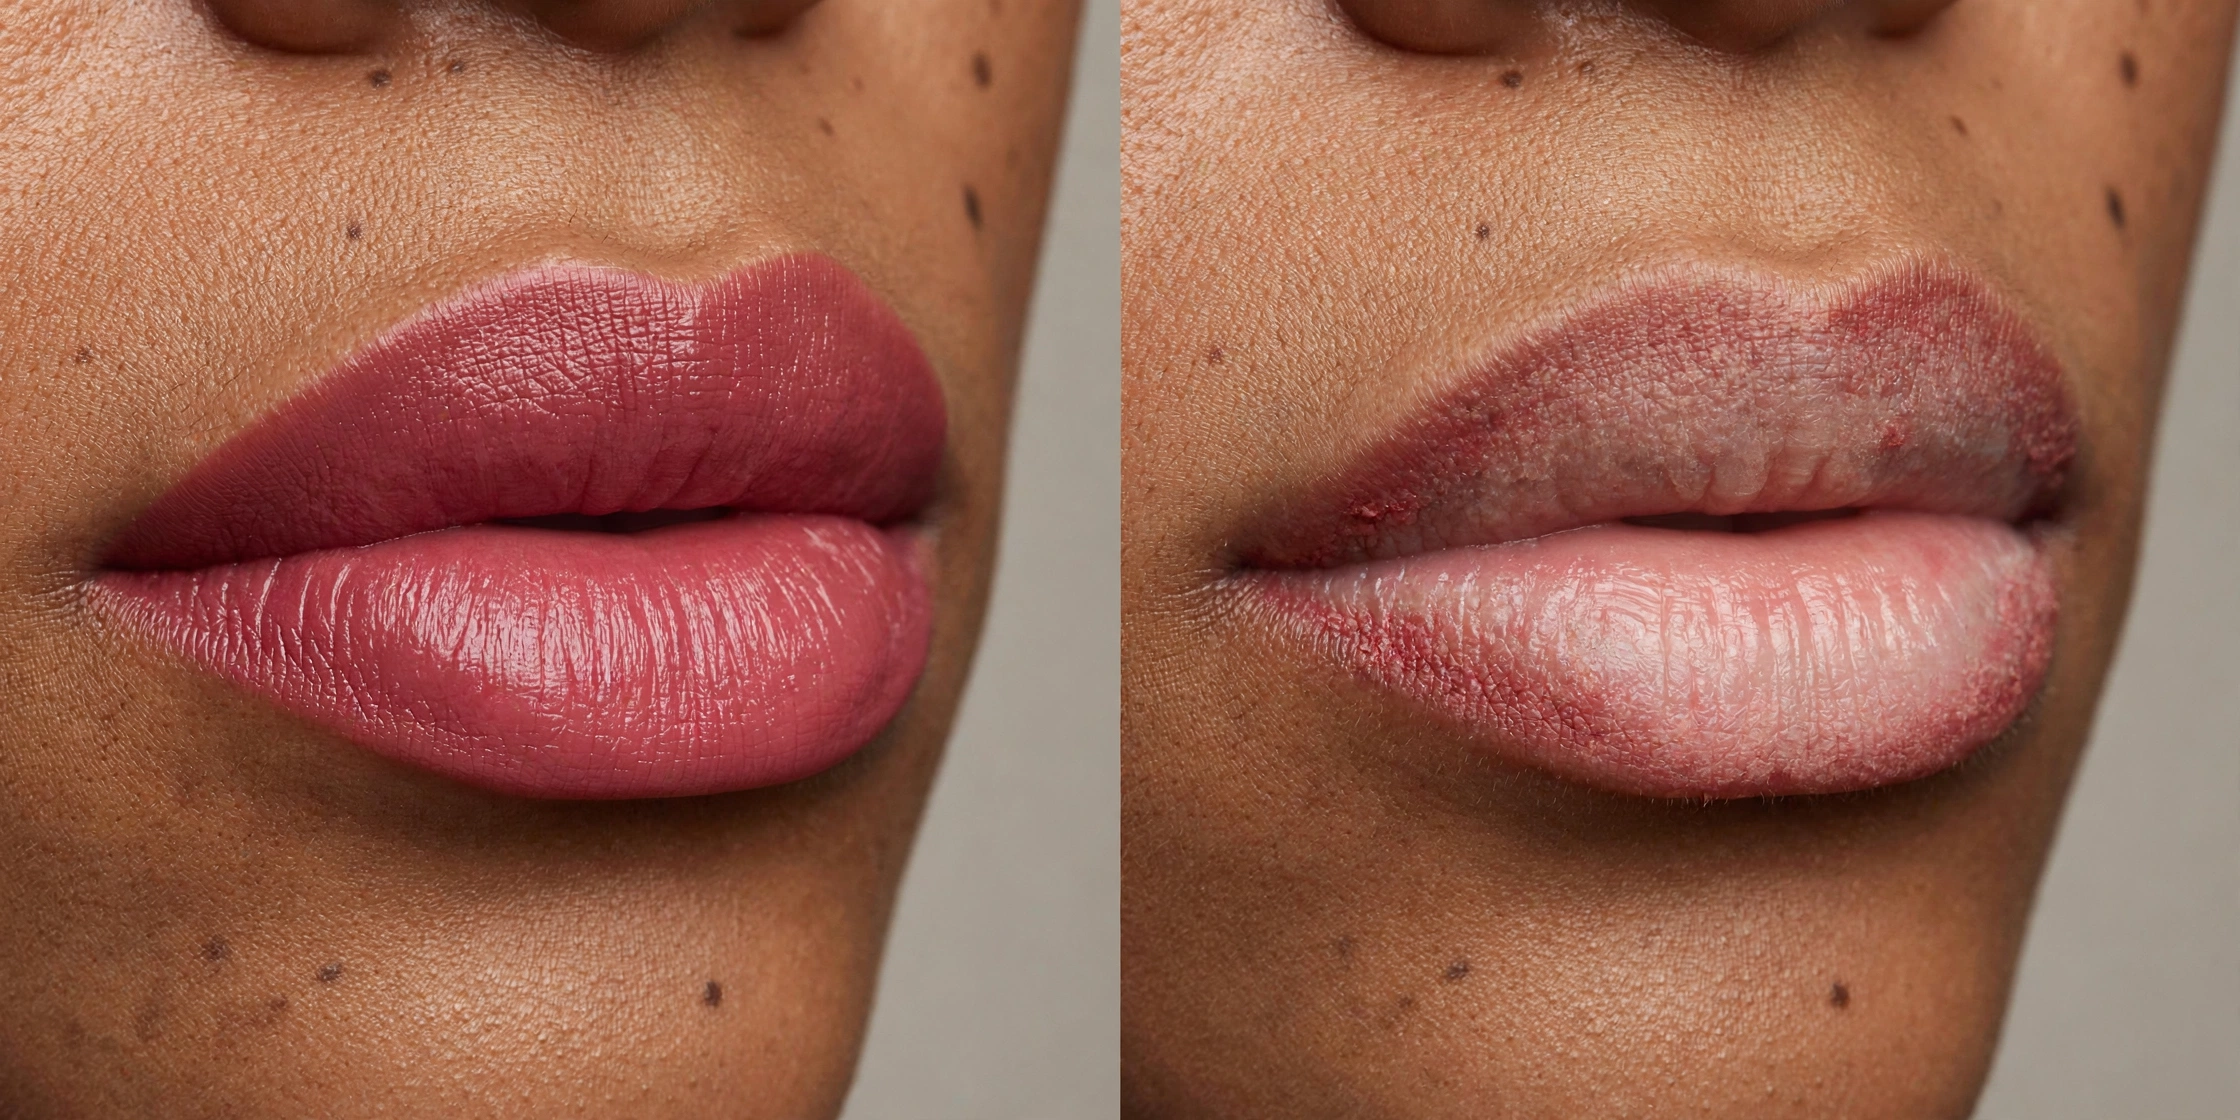
Center-Fade: The Special Case (when the middle thins but the edges hold)
Center-fade deserves its own section because it has its own mirror rule — but it is a branch of this article, not a separate problem.
The mirror rule: if the center of your lips thins while the edges and lip line retain color → stay here; this is wear-time patchiness, and everything above about center-lip wear and reapplication applies. If the lipstick fades evenly everywhere, all at once → that’s a longevity question for a future article, not this one.
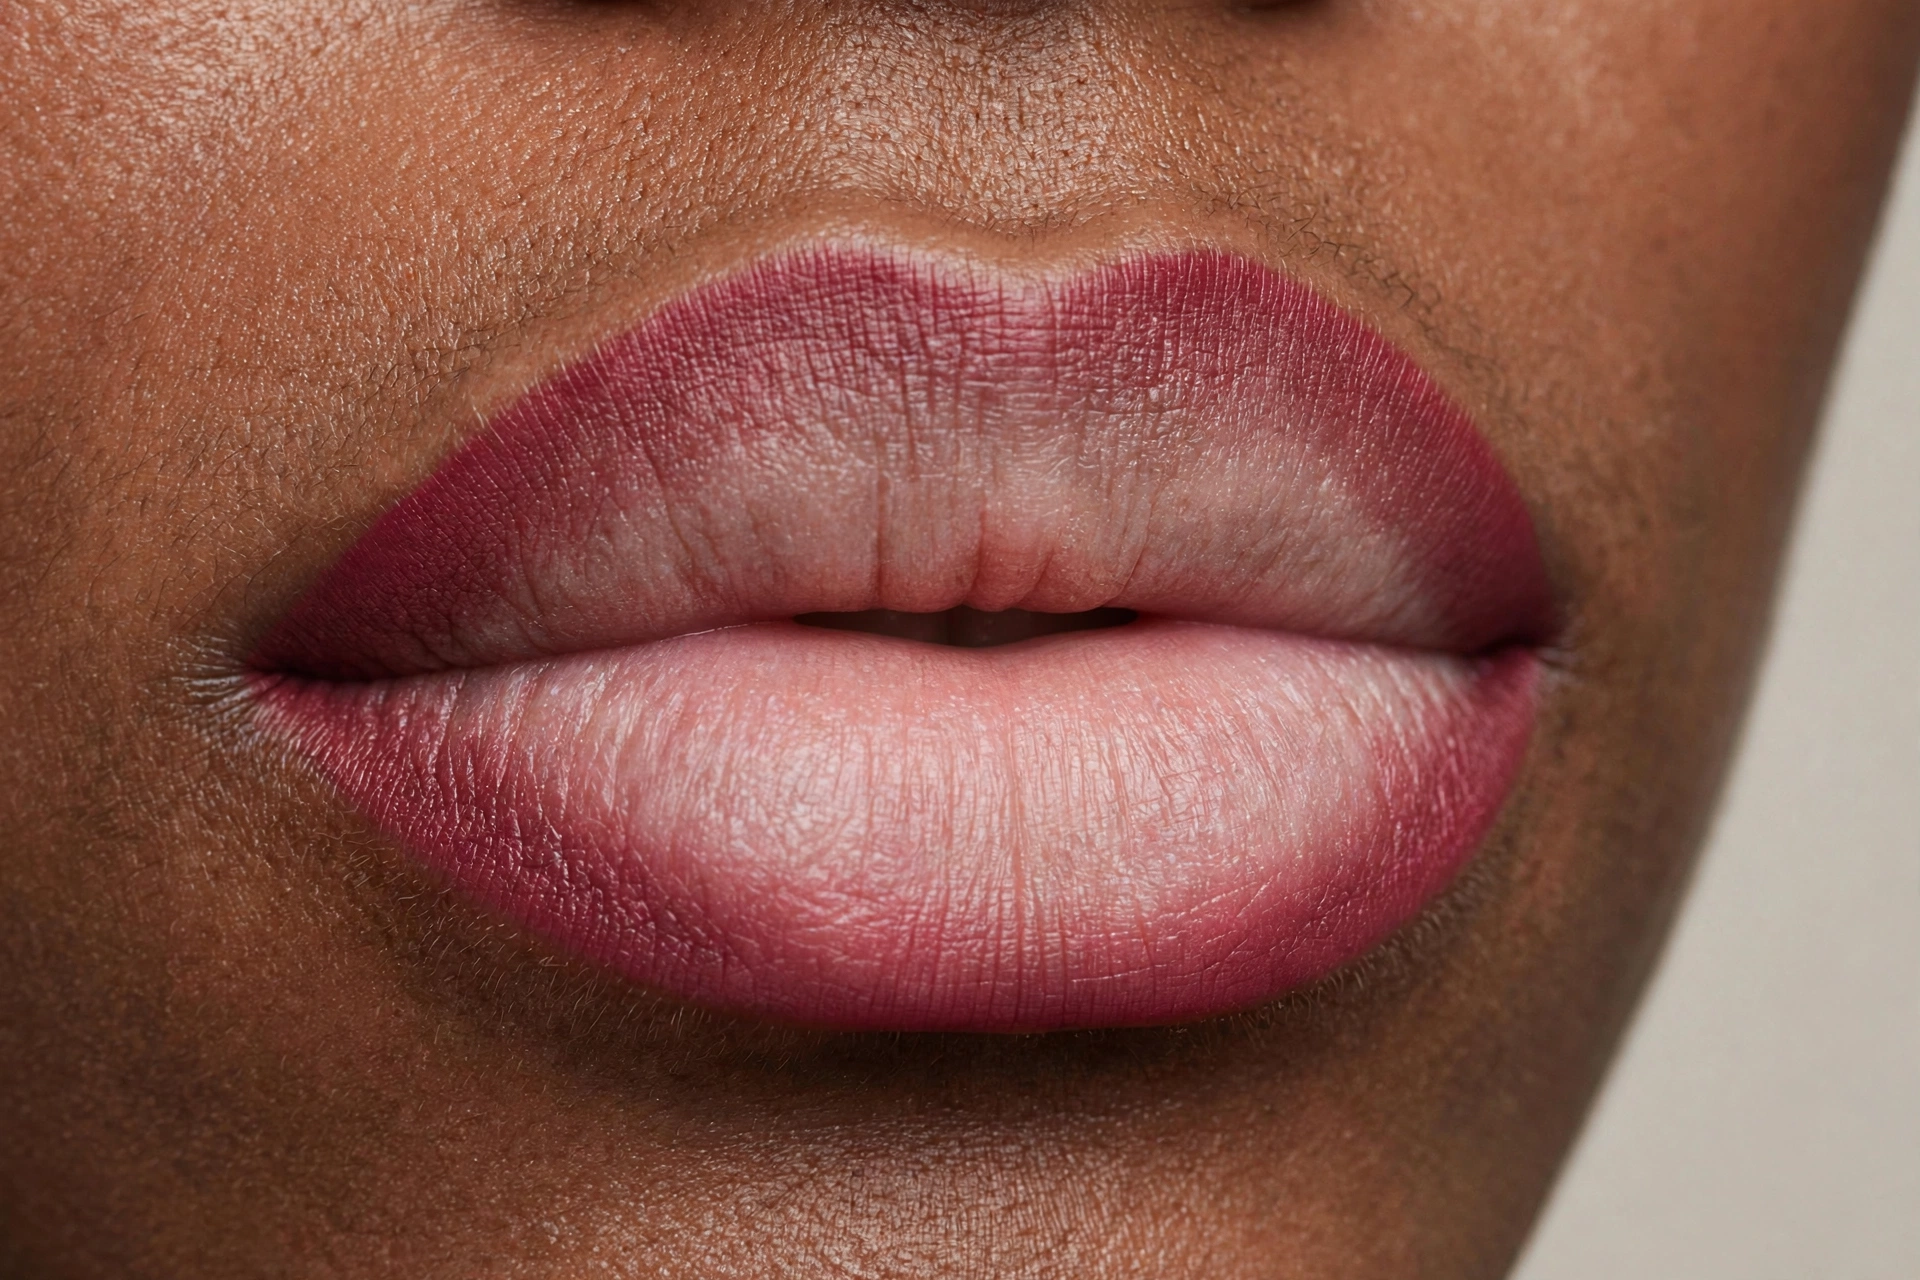
Why the middle goes first: it’s the highest-friction, highest-moisture zone of the lips — eating, drinking, talking, and lip-licking all concentrate there, and saliva wears the inner portion before anything else. The edges survive because almost nothing touches them.
The fix is strategic, not product-based: refresh the center alone when you touch up (don’t rebuild the whole lip), remove the worn layer before reapplying, and expect any formula — matte or satin — to need a center refresh after a meal. If the center and the edges fade together on the same timeline, stop diagnosing patchiness: you’re looking at overall wear, which is a different article’s job.
Is It Really Patchy? The Look-Alikes
Three problems get mislabeled as “patchy lipstick.” Each has a different fix — and a different future article.
Dry Texture vs Uneven Color
The most common confusion. Ask one question: is the color itself uneven, or is the surface uneven?
- Even color + dry, cracked, tight-feeling surface → that’s a texture problem wearing an even coat of pigment. It belongs to a future article on lipstick that looks dry, not this one.
- Uneven color on a relatively smooth surface → that’s this article. Stay.
The distinction matters because the fixes diverge completely: texture problems are solved with preparation and barrier care; pigment problems are solved with the diagnostic branches above.
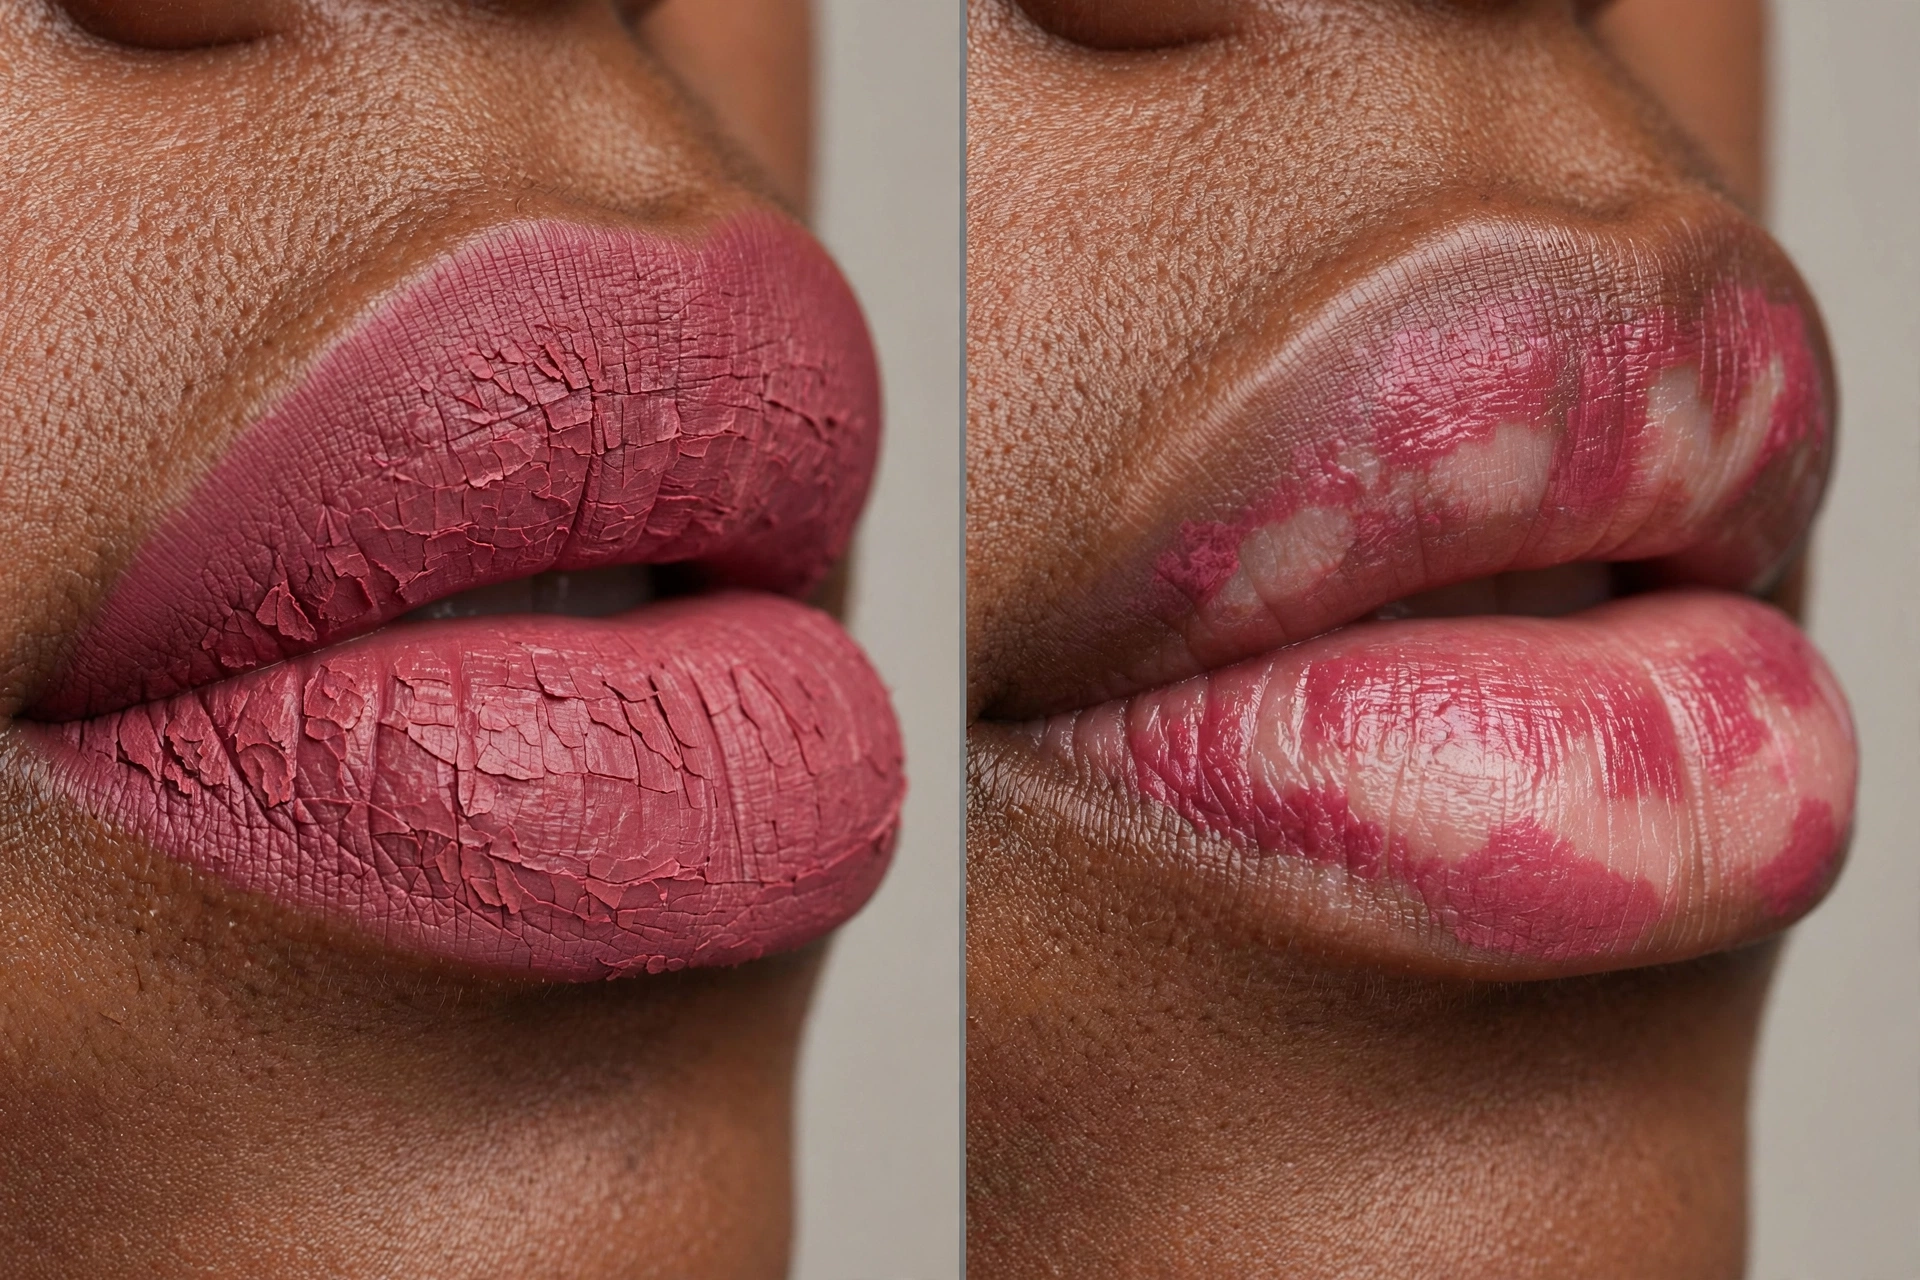
Bleed Outside the Lip Line (a different problem)
The containment test: is the color staying on your lips, just unevenly — or is it migrating off them onto the surrounding skin? Redness feathering into the fine lines around the mouth is bleeding/feathering: a migration problem with its own causes (and its own future article). Patchiness confined inside the lip line, with nothing escaping, is this article’s territory.
Naturally Uneven Lip Color (two-tone lips)
Some lips are naturally two-toned — darker edges, paler center, or an uneven natural pigmentation that shows through sheer formulas. That’s not a product failure, and no diagnostic branch above will fix it, because nothing is failing. It gets its own future article.
One boundary note for the rest of the face: if the “unevenness” you’re seeing is all over your base — foundation sitting unevenly across the cheeks and forehead — that’s a skin-texture problem with a different diagnosis. Our guide on why foundation looks cakey covers that territory.
Find Your Cause: Six One-Variable Tests
Each test changes exactly one variable. Run them on comparable days (similar weather, similar routine), and remember the frame: these tests suggest; they don’t diagnose. Patchiness usually comes from several small factors working together, and a test result is a strong clue — not a lab verdict.
Test 1 — Bare Lips vs Over Balm
Isolates: whether your base layer is contributing.
Protocol (this matters — a sloppy version misleads): Day one, apply lipstick on clean, bare lips. Day two, apply a thin layer of balm, wait several minutes for it to absorb, blot the excess with a tissue, then apply the same lipstick. The absorption wait and the blotting are non-negotiable — testing over a thick, wet balm layer tells you nothing useful.
Read: patchy over balm but smooth on bare lips → the balm layer (or its timing) is contributing. Patchy on bare lips too → the canvas itself is dry, and balm was masking it.
Limit: balm can temporarily mask dryness, so a “smooth over balm” result doesn’t clear the canvas. And one comparison doesn’t prove a cause — it points.
Rule-out built in: if the lipstick balls up into little rolls when you rub it on the back of your hand, you’re not seeing patchiness at all — that’s pilling, a different failure with its own diagnosis. Our guide on why foundation pills explains the pilling mechanism.
Test 2 — Wipe Then Reapply vs Reapply Directly
Isolates: whether old, worn product is corrupting your touch-ups.
Protocol: at the same point in the day (this controls for time-of-day dryness), do one touch-up the normal way — directly over the worn lipstick — and on another day, wipe the worn layer off completely first, then reapply fresh.
Read: wipe-first looks smooth while direct reapplication looks patchy → old product is the problem, and the fix is resetting before touch-ups.
Limit: your lips are drier later in the day regardless, so keep the comparison at matched times.
Test 3 — Blot, Then Reapply
Isolates: whether excess product thickness is the problem.
Protocol: after your normal application, press a tissue lightly between your lips once to lift the excess, then reapply a single thin layer.
Read: if blotting improves evenness, you were overloading. If nothing changes, the canvas or the formula is the likelier suspect — which is useful information too.
Limit: blotting changes the finish (especially with liquid mattes), so judge pigment evenness separately from shine. You’re testing thickness, not glow.
Test 4 — Matte vs Satin in the Same Shade
Isolates: formula behavior — suggestively, not conclusively.
Protocol: wear a matte and a satin (or cream) in the closest shade you own, on comparable days, and observe over 3–4 hours — not at application, where both may look fine.
Read (keep this strict): patchiness only with the matte formula may suggest that the formula’s dry-down is interacting with your lip surface or wear pattern. It does not prove the matte formula alone is the cause — dry lips plus a matte finish is an interaction, and this test can’t separate the two.
Limit: this is the most suggestive test on the page. Treat it as a pointer toward which combination to fix, not a verdict on any formula.
Test 5 — Center Wear vs Outer Wear
Isolates: concentrated wear patterns.
Protocol: no special setup — just observe at the mirror midday. Compare the center of your lips against the outer thirds.
Read: center patchy while the outer areas hold → wear and friction are concentrated in the middle (the canvas is identical across the whole lip, so a center-only pattern is informative). Uniform patchiness everywhere → the problem is more likely in the canvas or the formula.
Limit: the center is also where balm and saliva concentrate, so name those confounders honestly — eating, drinking, lip movement, and lip-licking all live here.
Test 6 — No Immediate Lip-Pressing
Isolates: application technique — for drying/liquid formulas only.
Protocol: with your liquid or fast-drying formula, apply one day with zero lip-pressing until the product has set, and compare against your normal press-together habit.
Read: smooth without pressing, patchy with it → your technique and that formula disagree.
Limit: do not generalize this. Pressing is normal, correct technique for standard cream and satin bullets — running this test on them will mislead you.
Fix It: The Right Fix for Each Cause
No generic hacks list — match the fix to the diagnosis your tests pointed at.
| If your tests point to | Change this: |
|---|---|
| Dry or flaky canvas | Hydrate and wait: thin balm, several minutes to absorb, blot the excess — then lipstick. Gentle routine over days, not aggressive scrubbing. |
| Excess or wet balm | Change timing and amount, not the balm itself: balm earlier in the routine, absorbed and blotted before lipstick. |
| Too many layers / reapplication buildup | Reset before rebuilding: remove the old layer completely, then one clean application. Blot between passes instead of stacking. |
| Center wear | Refresh the center alone at touch-ups; remove the worn layer first. Expect a center refresh after meals with any formula. |
| Matte dry-down sensitivity | Compare finishes honestly — satin and cream films stay flexible where matte films crack. Match the finish to your lip condition that day. |
| Over-exfoliation | Stop aggressive exfoliation and let the lip barrier recover. Hydration and time, not more scrubbing. |
| Liner texture mismatch | Pair like with like: similar dryness levels, similar finishes — or skip liner for formulas it fights with. |
| Old or degraded product | Replace it. Check odor, texture, and separation — no technique fixes a broken formula. |
| Early lip-pressing | Give liquid/drying formulas their setting moment before you press. Keep normal technique for cream and satin bullets. |
| Balm over set matte | Don’t layer emollients over a dried film. Remove, moisturize, blot, reapply — or choose a more forgiving finish for the day. |
And the standing rule behind every row: if several small factors are contributing — and they often are — fix the biggest one first, then re-test. Diagnosis is iterative.
FAQ
Why is my matte lipstick patchy but my satin isn’t?
Matte formulas are the least forgiving finish: their films set rigid and crack with lip movement, and every small application inconsistency shows. Satin and cream films stay flexible, so they hide the same imperfections. But keep the honest frame — patchiness only with matte suggests an interaction between the formula’s dry-down and your lip surface or wear pattern; it doesn’t convict the matte formula alone.
Why does my lipstick look patchy in the middle?
The center of the lips takes the most punishment — eating, drinking, talking, and lip-licking all concentrate there, and saliva wears the inner portion first. That’s center-fade, a wear-time branch of patchiness: refresh the center alone at touch-ups, always removing the worn layer first. If the color fades evenly everywhere instead, that’s a different (longevity) question.
Does lip balm before lipstick cause patchiness?
It can — but the balm isn’t the enemy, the timing is. A thick, unabsorbed balm layer creates a slippery base the pigment can’t grip, and as it shifts, the color shifts unevenly with it. Apply balm earlier, let it absorb for several minutes, and blot the excess before lipstick goes on.
Can expired lipstick look patchy?
A degraded product can apply unevenly — but judge by observable signs, not the calendar: unusual odor, changed or grainy texture, visible separation, or application behavior that’s clearly worse than when the product was new. No technique fixes a broken formula, and no universal expiration timeline is worth trusting here.
Why does my liquid lipstick look streaky?
Fast-drying liquid formulas are the most vulnerable to technique timing: pressing your lips together before the product sets can drag wet pigment into streaks. Give it its setting moment before you press or blot. Note this is formula-specific — the same pressing is perfectly fine with standard cream and satin lipsticks.
What to Read Next
This article is the entry point for the site’s Lips troubleshooting — the temporal router (when did it appear?) and the look-alike boundaries above are the map for everything that follows. Future guides will take the problems this page deliberately routes away: color migrating outside the lip line, lips that look dry under an even coat of pigment, and lipstick that fades evenly everywhere.
For problems on the rest of the face, the same diagnostic method applies: our guide on why foundation looks cakey works the same symptom → timing → cause → test → fix structure for base texture, and why foundation pills covers what to do when product balls up instead of sitting down.